Now that the project is ready over in VSTS it is time to start the project in your IDE. The choice of IDE is really a personal preference, I am going to be using IntelliJ IDEA Ultimate (the community version does not have the Spring Initializer). If you are using Eclipse I will recommend that you look at the Spring Tools Suite.
Start up IntelliJ and click the option to create a new Project.
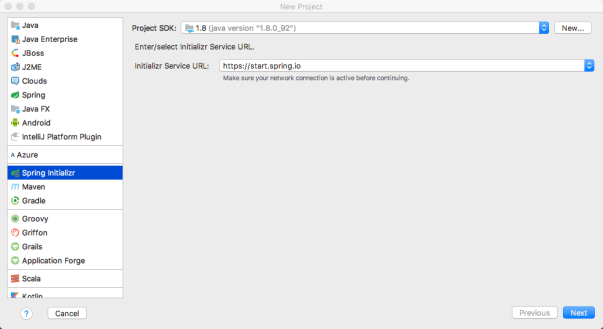
Select the Spring Initializer from the list of project types and then click Next.
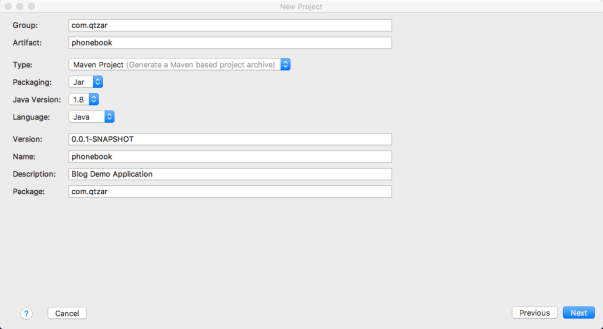
Give your project some details, the Group and Package are normally your reverses domain name and then the artifact and name are normally your project name.
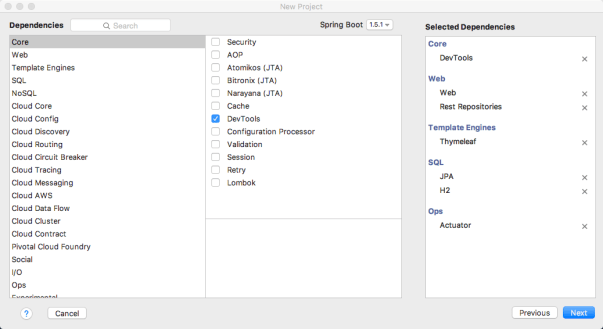
On the next screen you can select what Spring Boot Starters you want to initially include in the project. A Spring Boot Starter added additional functionality to the project and configures that functionality with basic defaults for you. Over on the right you can see a list of the starters I have selected and what category you will find them under. I’ll discuss the selected options in later blog posts.
After you click next you will be prompted to save the project somewhere on disk and then IntelliJ will open a workspace window with your new project in it.

You may see a warning message about a non-managed pom file. If you do then you should click the ‘Add as Maven Project’ option.
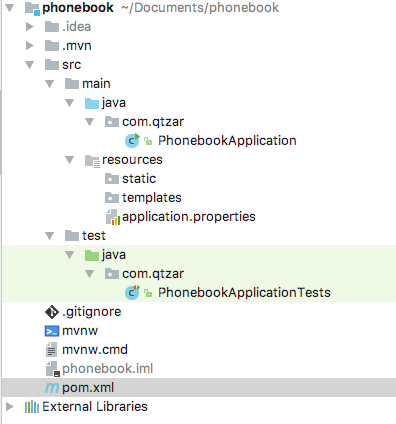
Once completed you will see the basic outline of your new project. A src folder has been setup for you with the main java source for your application and a resources folder for the html and css files. There is also a test folder where you can store all your java testing files.
In the next post I will show you how to get this moved up to VSTS.

You must be logged in to post a comment.