Person Persons People

Now that the Location class has been created it is time to create our Person class. As the name suggests it represents a single person in the data store.

This class is very similar to the Location class so I will not go in to too much details. Just don’t forget the @Entity and @Id annotations. Make sure you have the constructors created and also your Getters and Setters.

You may notice that I have not setup any relationships between the tables. Technically I am using an SQL  database so I could setup a One To Many type relationship between the Location and Person using a @OneToMany annotation but normalization of database tables is outside the scope of this blog. Instead for this simple application I’m going to keep the two tables unrelated for the time being.

Now that we have our two Entity classes created lets get them pushed to the GIT repository server…

Tagged with: ,
Posted in Domino To Spring, None

A view in to your data

In the Domino world the data store is part of the application container. When building your app you will invariably start by creating your forms and views to hold the basic structure of the data. For this Spring Boot based application I am going to start with the same step of building my data.

Two of the dependencies that I selected from the Spring Boot Initializer were spring-boot-starter-data-jpa and com.h2database. You can see these in your pom.xml file in the root of your project structure. The H2 Database is an in-memory or file based SQL data source. It is perfect for development work but should be replaced in a production environment. The spring-boot-starter-data-jpa dependency adds in a data persistence layer based on Hibernate.

For the application I am going to need Locations and People. I’m going to create a new package under com.qtzar called ‘model’ and then create a java class in there called Location.

First I need to annotate the class with the @Entity annotation. This will indicate to Hibernate that the class represents a data structure which will then translate to a table in my data source.

Next we add all the columns to the table. This is done by adding private fields to the class. You will also notice that the first field has been annotated with @Id. This indicates to Hibernate that the field called id is the unique key for the table.

Next we need a constructor for the class. I have created two constructors. One is an empty constructor and one takes a list of parameters that match up to all the fields in the class. This allows me to create a blank location or a fully constructed location.

Then you will need a getter and a setter for each field you added to the class. You COULD type them all out by hand but that would be painful so why not use your IDE to do the job for you. IntelliJ and Eclipse both have code generators that you can use for create getters and setters.

Another option would be to investigate Project Lombok. Then you just need to add @Getter and @Setter to the class annotations and as long as Project Lombok is setup correctly the getters and setters will be auto generated in the compiled code.

Tagged with: , , , , ,
Posted in Domino To Spring, None

Branching Out On Your Story

Before you start writing code you should create a branch to add the code to in your git repository. You could decide to create the branch directly in your IDE if it has Git support, or if you are using an external tool like Git Tower or SourceTree you could create the branch there. I’m going to use VSTS to create my working branch and then pull that branch down to IntelliJ IDEA just to show you an alternative method.

In the story you just dragged over to the Active column you will see a small — menu in the upper right when you hover over the story. Clicking on this will bring up a context menu with some interesting items on it like adding tasks and tests which I’ll mention much later in another posting but for now I’m interesting in the ‘New Branch…’ menu. Go ahead and click on that.

A new dialog will appear asking for your branch name. You can call it whatever you want. I like to try link the branch name to the story somehow so I’m going to call mine ‘Story667-CreateHomePage’

IntelliJ IDEA has no idea that this branch exists so we need to tell it about the branch by fetching it from the server.

Using the VCS menu, go to Git and then select ‘Fetch’. This will pull down all the changes on the server but it does not change your current branch.

We can see that it has worked by looking in the Version Control log which is available by clicking the Version Control tab in the lower toolbar of IntelliJ.

Now go to the VCS -> Git -> Branches screen and you see the new remote branch.

Click on it and select the option to ‘Checkout as a new local branch’.

Now you can start writing code.

Tagged with: , ,
Posted in Domino To Spring, None

Mapping Out Your Ideas

Before we start slinging code around it would probably be a good idea to map out a few concepts and requirements. I’m going to use the VSTS work section to do this. I will create requirements for each idea that I have and then later as I’m working on my code I can link these requirements with the code commits.

If you have never worked with Agile, Scrum, Waterfall or Kanban before the idea behind it is that each indivisible piece of work is laid out in what is known as a User Story. A developer can then take that story, write the code to make that story work and fulfil the acceptance criteria without having to worry about what anybody else on the team is doing. I’m not going to go in to any details on a full Agile methodology but I do want to show you creating and using User Stories in VSTS.

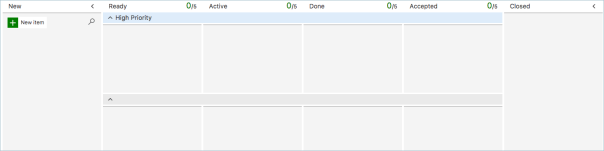
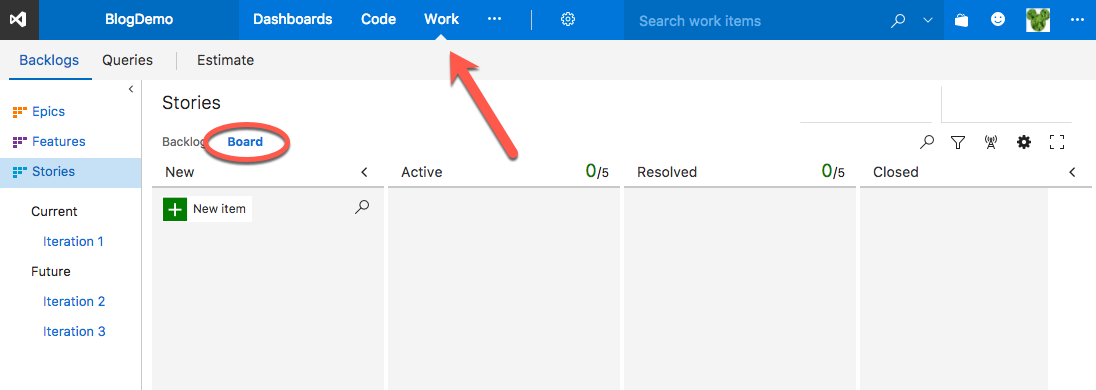
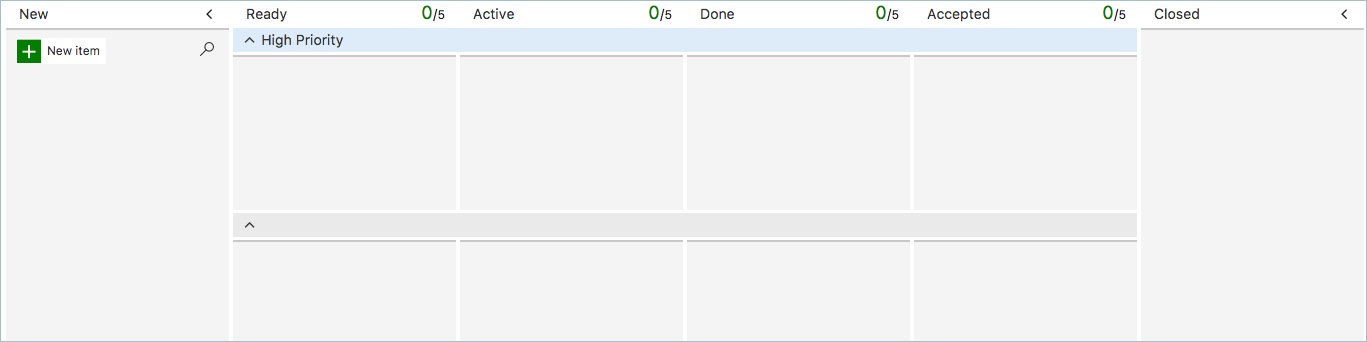
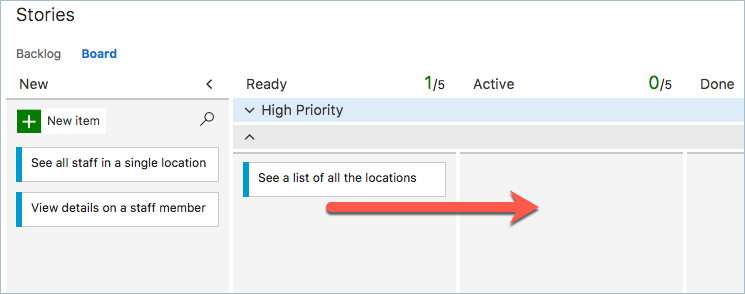
In VSTS go to the Work section and make sure that you are looking at the User Stories / Board view. The screenshot above shows the basic layout and this can then be further customized for your needs. In our corporate environment we have added ‘Ready’ and ‘Accepted’ columns as well as a ‘High Priority’ swimlane as follows.

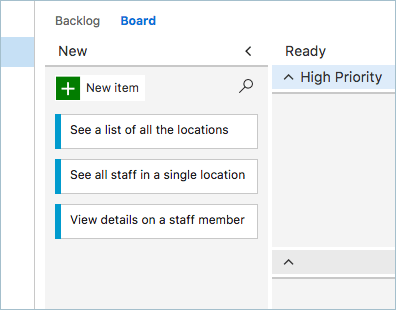
Now I can start creating my User Stories. Clicking on New Item in the New column will create a new card in the New column where you can type in a title. You can create a bunch of these in quick succession as you jot down your ideas and then come back and start fleshing them out with more details.

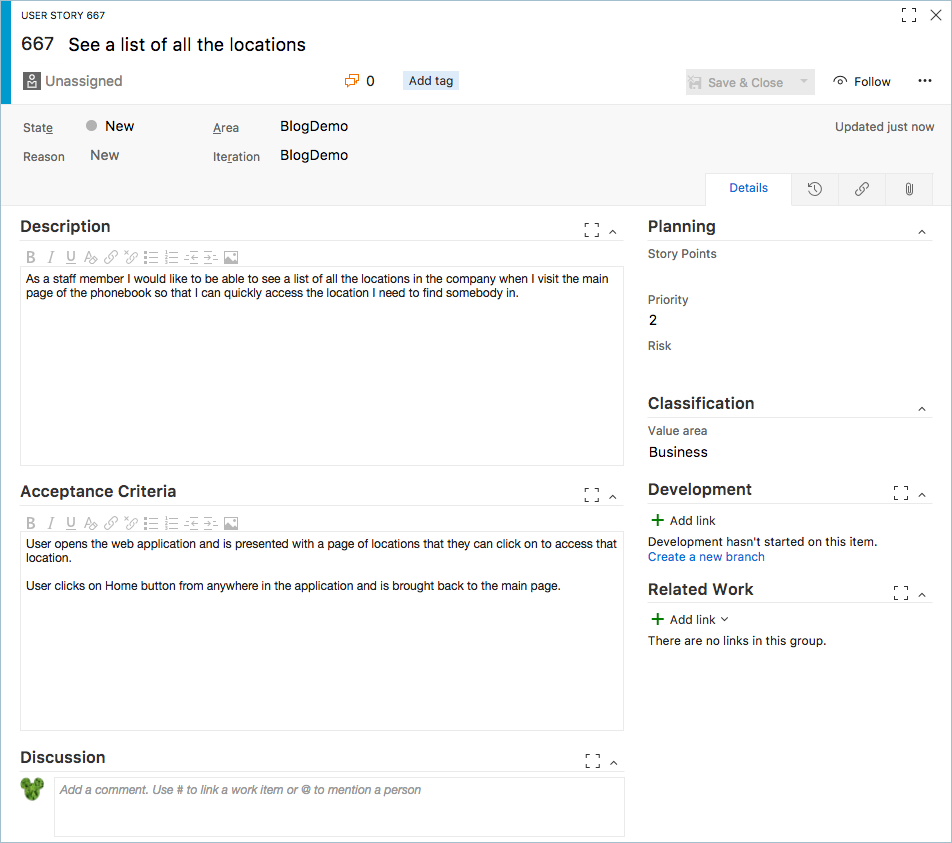
Now that we have our main ideas in place you can open those cards and start adding the details and acceptance criteria. You can also set priorities and story points and other info that can help with the prioritization and planning of stories but I won’t be getting in to that for this application.

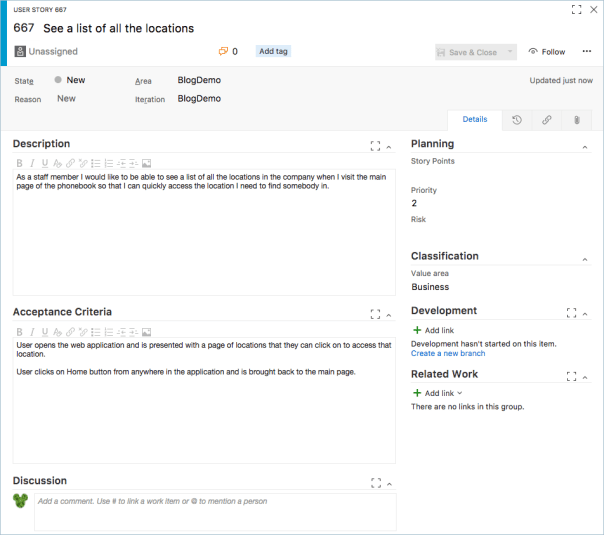
If you look at the user story you can see that it is written in a very specific manner. As a [WHO] I would like [WHAT] so that I can [WHY]. Even if you are writing your own user stories you should try and use this methodology as it helps you get inside the mind of the users of the application need. The acceptance criteria is written is the form of what the user does and what the expected result is. In a large organization it will probably be the product owners and not the developers who write thee user stories.

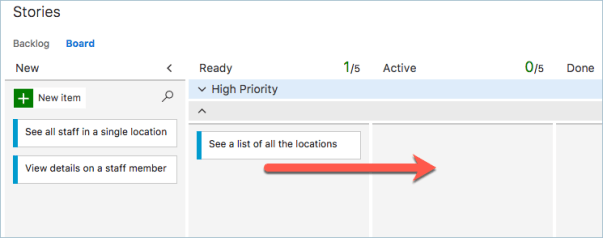
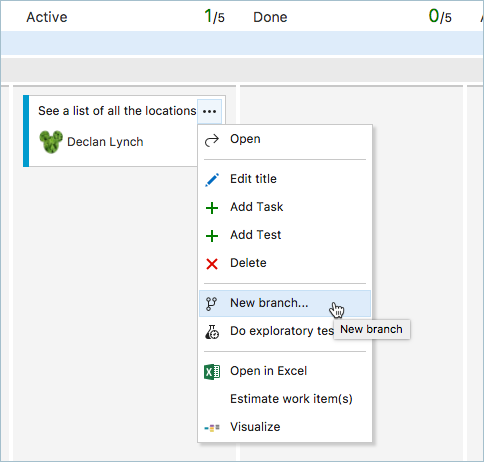
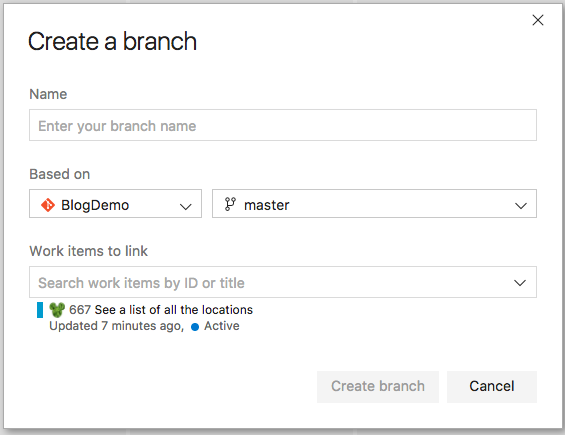
In this case the product owner has finished writing the user story and has dropped it in to the ‘Ready’ column. This indicates to the development team that the story is ready to start work on so as the developer I can then drag that story from the ‘Ready’ column to the ‘Active’ column. This will assign the story to me and tell any other developers on the team that I am working on it.

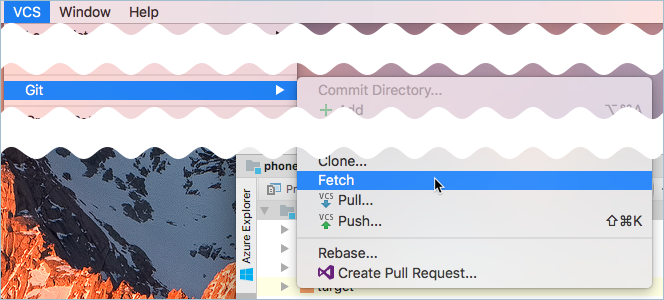
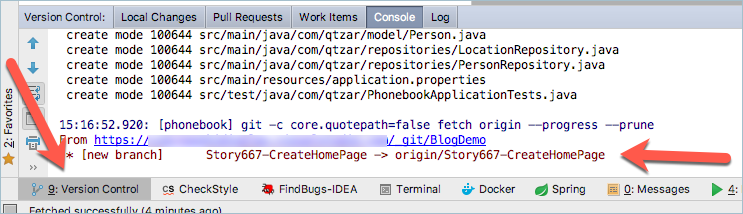
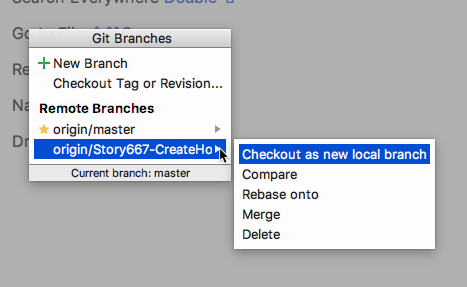
Now I can start writing code…

Tagged with: ,
Posted in Domino To Spring, None
Archives